


TAKE YOUR ESPRESSO TO THE NEXT LEVEL WITH PERFECTLY TEXTURED MILK
Elevating Espresso with Perfectly Textured Milk
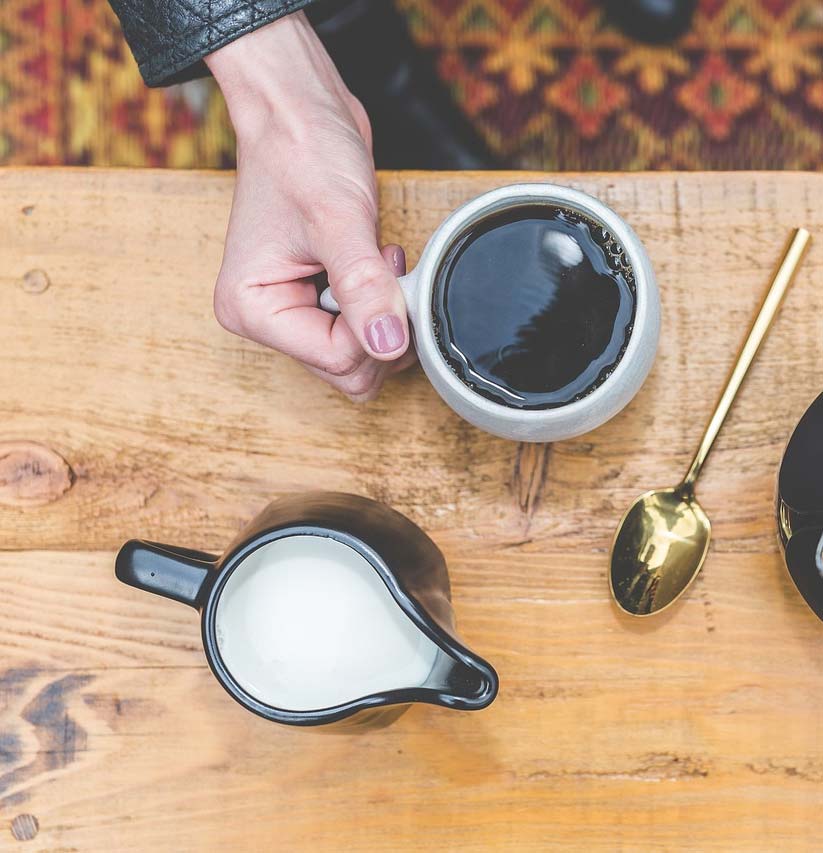
Choosing and Preparing Your Milk
Begin your journey to the perfect espresso by selecting fresh, cold milk with a high fat content. Whole milk or 2% milk are ideal choices for achieving the best latte art.
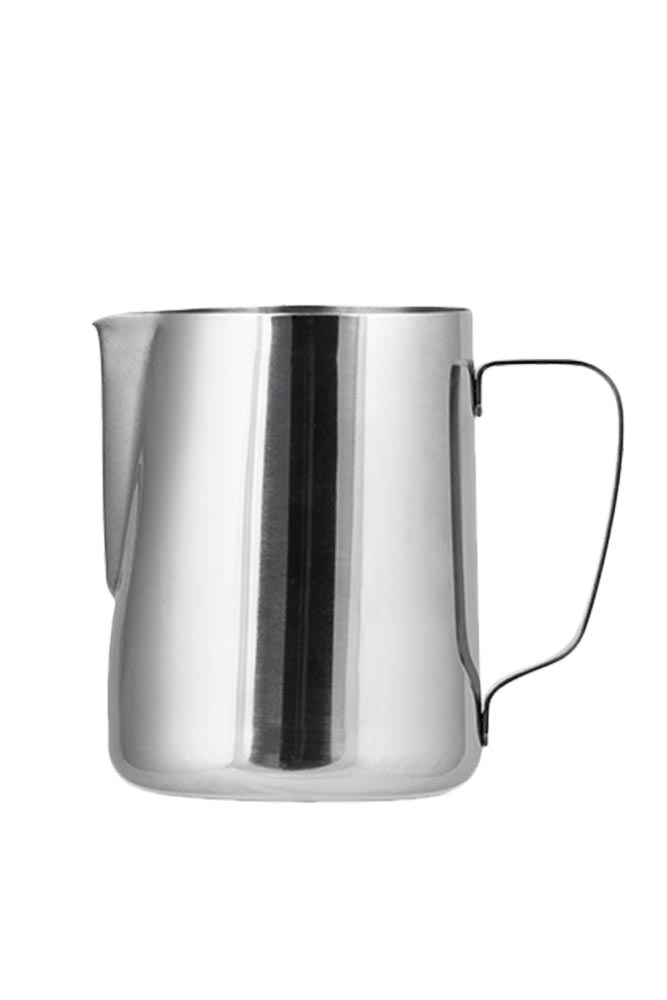
Setting Up Your Milk and Pitcher
Preparing for Steam: The Right Pitcher and Milk
Pour your chosen milk into a clean, stainless steel pitcher, ensuring it’s free from any residue. This preparation is key for achieving the perfect texture in your milk.
Mastering the Steam Wand Technique
Creating the Perfect Whirlpool for Velvety Milk
Position the pitcher under the steam wand of your espresso machine. Activate the steam wand and adjust its angle to create a whirlpool effect in the milk. This technique is crucial for even heat distribution and achieving a smooth, velvety texture.
The Art of Heating Milk
Carefully monitor the milk as it heats up, adjusting the position of the pitcher to maintain the right angle of the steam wand. Continue until the milk reaches the ideal temperature of 140°F to 150°F, using a thermometer for accuracy.
Final Touches for Silky Milk
Removing Bubbles and Achieving Glossy Texture
Once your milk is at the desired temperature, turn off the steam wand. Gently tap the pitcher on a hard surface to remove any large bubbles, then swirl the milk to create a glossy, smooth texture.
Pouring and Latte Art Creation
Now, combine your textured milk with an espresso shot to create beautiful latte art. This final step brings together the rich flavors of the espresso with the creamy texture of the milk, taking your espresso experience to the next level.


Master Latte Art with Our Frothing Jug
Designed by Baristas, for Baristas
Smooth Milk Every Time
The jug's design assists in creating silky, smooth milk, crucial for top-notch lattes and cappuccinos.
Stainless Steel Durability
Utilizing 1mm thick, food-grade stainless steel, this jug promises longevity and a professional feel.
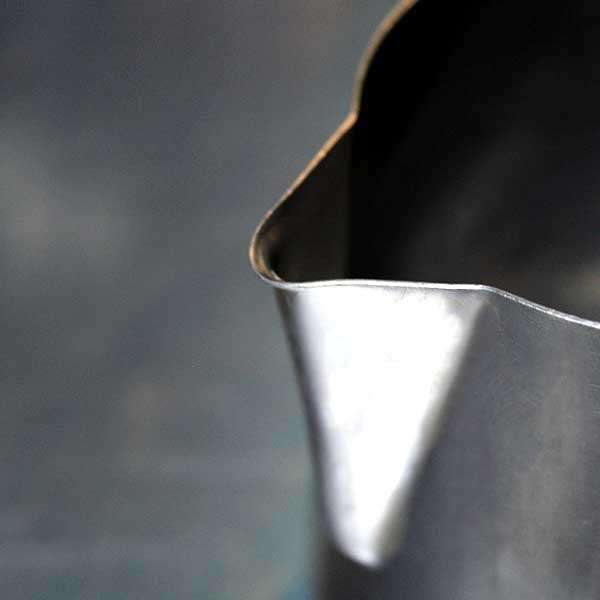
Features for Precision and Efficiency
Professional Pouring Spout
Achieve smooth pouring and intricate latte art with the jug's refined spout design.
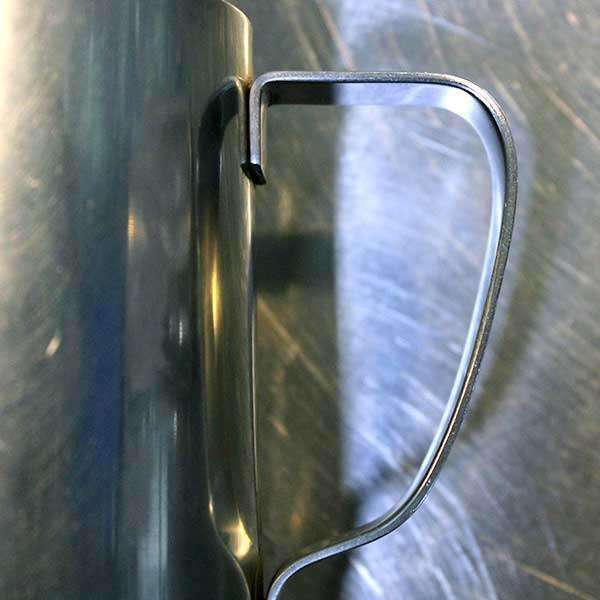
Comfort and Measurements
The comfort handle and built-in measurements increase efficiency and decrease milk waste, potentially saving significant amounts annually.
Barista Jug Features
1mm thick food grade stainless steel body
Thicker steel provides a great weight and professional feel.
Professional spout resulting in smooth pouring for latte art.
Comfort handle